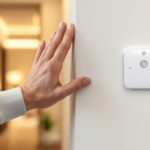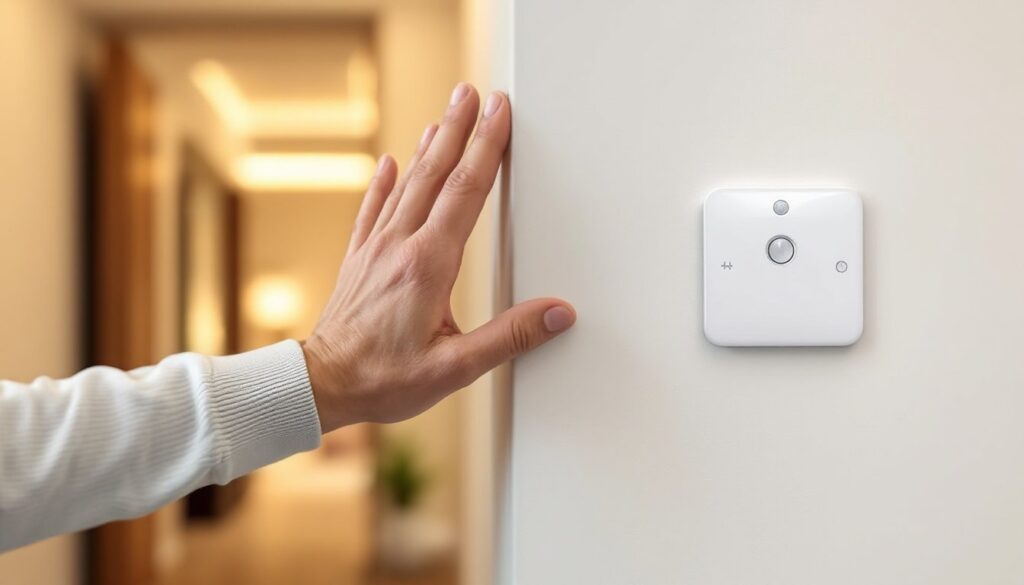

Walk into a dark hallway at 2 a.m., and a motion sensor light switch flips the lights on before your hand even reaches the wall. No fumbling. No wasted electricity from lights left on all day. These devices are more than a convenience, they’re a practical upgrade that cuts energy costs, improves safety, and simplifies daily routines. Whether someone’s remodeling a bathroom, upgrading a garage, or just tired of nagging kids to turn off the lights, motion sensor light switches deliver real-world value without complex smart home systems or monthly subscriptions.
Key Takeaways
- Motion sensor light switches automatically detect movement and activate lights hands-free, reducing electricity consumption by 30-50% while eliminating wasted energy from lights left on all day.
- PIR (passive infrared) sensors are the most common and affordable residential option ($15-60), while ultrasonic and dual-technology sensors work better in irregularly shaped rooms but cost more and may trigger false activations.
- Proper installation requires verifying your home has a neutral wire in the switch box, turning off power at the breaker, and carefully following the manufacturer’s wiring diagram to ensure safety and compliance with electrical codes.
- Motion sensor light switches improve home safety for elderly residents and people with mobility limitations by automatically illuminating dark hallways and bathrooms, reducing fall risks during nighttime trips.
- Choose a motion sensor light switch based on room size, layout, sensor type, and adjustment features like timeout duration and sensitivity—most homes benefit from mid-range models ($30-60) that balance functionality and cost.
What Is a Motion Sensor Light Switch and How Does It Work?
A motion sensor light switch replaces a standard wall switch and automatically controls lighting based on detected movement in a room. Instead of manually flipping a switch, the device uses built-in sensors to detect when someone enters or leaves a space, turning lights on and off accordingly.
Most motion sensor light switches operate using one of two primary technologies: passive infrared (PIR) or ultrasonic sensors. PIR sensors detect changes in infrared radiation, essentially body heat, within their field of view. When a warm body moves through the detection zone, the sensor triggers the light. Ultrasonic sensors emit high-frequency sound waves and measure the reflection pattern: any movement in the room disrupts the pattern, activating the switch.
The switch connects to standard household wiring, typically requiring a hot wire, neutral wire, and ground. Once installed, users can adjust settings like sensitivity (how much movement triggers activation), timeout duration (how long lights stay on after motion stops), and sometimes ambient light threshold (preventing activation when natural light is sufficient).
These devices don’t require hubs, Wi-Fi, or smartphone apps for basic operation, though some models offer those features. A light motion sensor switch works on a closed electrical circuit, making it a straightforward retrofit for existing switches. The key difference from standard switches: they add intelligence to the circuit without requiring a complete rewiring job.
Key Benefits of Installing Motion Sensor Light Switches
Energy savings top the list. Lights that turn off automatically when a room is vacant can reduce electricity consumption by 30-50% in frequently used spaces like bathrooms, laundry rooms, and hallways. The exact savings depend on usage patterns, but forgetting to flip a switch costs money over time, motion sensors eliminate that waste.
Hands-free convenience matters in specific scenarios. Carrying laundry baskets, groceries, or tools becomes easier when lights activate automatically. Parents with small children appreciate not needing to install secondary switches at lower heights. In garages and basements where hands are often occupied or dirty, motion activation prevents the need to touch walls.
Enhanced safety reduces trip hazards. Elderly household members benefit from automatic lighting in bathrooms and stairways during nighttime trips. Motion sensor light switches can illuminate dark spaces before someone enters, reducing the risk of falls or collisions with furniture.
Extended bulb life results from reduced on-time. LED bulbs already last years, but limiting their usage to occupied periods stretches that lifespan further. This benefit applies more to spaces with long vacancy periods, storage rooms, guest bathrooms, utility closets, where lights might otherwise burn unnecessarily for hours.
Accessibility improvements help individuals with mobility limitations or disabilities. Not needing to reach for a switch makes spaces more navigable for wheelchair users or those with limited arm mobility. This isn’t a cosmetic upgrade, it’s a genuine quality-of-life enhancement for some households.
Types of Motion Sensor Light Switches for Different Needs
Passive Infrared (PIR) Sensors
PIR sensors are the most common type in residential motion sensor light switches. They detect infrared energy (heat) emitted by people and pets. When a heat source moves across the sensor’s field of view, the device registers a change and activates the light.
PIR switches work best in spaces with clear sightlines and typical room temperatures. They struggle in very hot environments where ambient heat approaches body temperature, reducing contrast. Line-of-sight matters, PIR sensors won’t detect motion behind furniture, around corners, or through walls. This makes them ideal for bathrooms, small offices, and hallways but less suitable for L-shaped rooms or spaces with many partitions.
Most PIR models offer adjustable detection range (typically 180-900 square feet) and timeout settings (30 seconds to 30 minutes). Budget options start around $15-25, while mid-range units with better sensitivity and customization run $35-60. Installation requires a neutral wire in most cases, older homes without neutral wires in switch boxes may need additional wiring work.
Ultrasonic and Dual-Technology Sensors
Ultrasonic sensors emit high-frequency sound waves (above human hearing range) and detect movement by measuring changes in the reflected waves. Unlike PIR, they don’t require line-of-sight, they’ll detect motion around corners and behind obstacles. This makes them superior for irregularly shaped rooms, large open spaces, or areas with partitions.
The downside? False triggers. Air movement from HVAC vents, ceiling fans, or even waving curtains can activate ultrasonic sensors. They’re also more expensive, typically $50-100 for residential models.
Dual-technology sensors combine PIR and ultrasonic detection, requiring both to confirm motion before activating. This reduces false triggers while maintaining the coverage benefits of ultrasonic sensing. Expert testing of advanced motion sensor models shows dual-tech units perform best in high-traffic commercial settings, but they’re overkill for most residential applications unless someone’s dealing with problematic false activations.
For home use, PIR handles 90% of situations. Ultrasonic or dual-tech makes sense in large basements, commercial garages, or rooms where occupants remain relatively still (like offices where someone sits at a desk for extended periods).
How to Choose the Right Motion Sensor Light Switch for Your Home
Start with room size and layout. Check the sensor’s coverage area specification, usually listed in square feet or detection angle. A 500-square-foot rating works for most bathrooms and bedrooms, but garages or basements may need 900+ square feet. L-shaped rooms or spaces with corners outside the sensor’s view may need multiple switches or ultrasonic detection.
Verify wiring compatibility before buying. Most motion sensor light switches require a neutral wire (white wire) in the switch box plus to the hot (black) and ground. Homes built after the mid-1980s typically have neutrals in switch boxes, but older construction often doesn’t. Open the existing switch box and check, if there’s no bundle of white wires capped with a wire nut, you’ll either need to run a neutral (requiring wall opening and possibly professional help) or buy a neutral-free model (which costs more and offers fewer features).
Consider load type and capacity. Standard switches handle incandescent and LED loads, but verify the minimum load rating if using very low-wattage LEDs (under 5 watts). Some motion sensors won’t trigger reliably with ultra-low loads. Maximum load capacity typically ranges from 300-600 watts for LEDs, 600-1000 watts for incandescent. Don’t exceed the rating, use multiple switches or relays for high-wattage applications.
Check adjustment features:
- Timeout duration: How long lights stay on after detecting motion (30 seconds to 30 minutes). Bathrooms need 5-15 minutes: hallways need 1-3 minutes.
- Sensitivity adjustment: Controls how much motion triggers activation. High sensitivity catches small movements but increases false triggers.
- Manual override: Lets users force lights on or off regardless of motion. Essential for situations requiring extended lighting (cleaning, repairs).
- Ambient light sensor: Prevents activation when natural daylight is sufficient, saving even more energy.
Think about occupancy vs. vacancy modes. Occupancy sensors turn lights on automatically when motion is detected. Vacancy sensors require manual activation but turn lights off automatically when the room is vacant. Vacancy mode complies with some energy codes and prevents unwanted activation, but sacrifices convenience. Recent reviews of top-rated motion switches show most offer both modes.
For three-way or four-way installations (lights controlled from multiple locations), verify compatibility. Not all motion sensors work in multi-location setups, some require specific companion switches or won’t function properly. Read product specs carefully.
Price ranges correlate with features:
- $15-30: Basic PIR, manual adjustments, limited features
- $30-60: Better sensitivity, digital adjustments, occupancy/vacancy modes, ambient sensors
- $60-150: Smart models with app control, scheduling, dimming, integration with home automation systems
For most DIY installations, the $30-60 range hits the sweet spot between functionality and cost.
Step-by-Step Installation Guide for DIY Homeowners
Safety first: Turn off power at the breaker panel, not just the switch. Use a non-contact voltage tester to confirm no current is present before touching any wires. If you’re uncomfortable working with electrical wiring or your local jurisdiction requires a licensed electrician for switch installation (some do), hire a professional. According to NEC standards, all work must comply with local electrical codes.
Tools and materials needed:
- Non-contact voltage tester
- Flathead and Phillips screwdrivers
- Wire strippers
- Wire connectors (if not included)
- Electrical tape
- Motion sensor light switch
- Safety glasses
Installation steps:
-
Kill the power. Flip the breaker controlling the circuit. Test the existing switch with the voltage tester to confirm it’s dead. Test multiple times, better paranoid than shocked.
-
Remove the old switch. Unscrew the wall plate, then remove the mounting screws holding the switch to the box. Carefully pull the switch out without touching bare wire ends yet. Test again with the voltage tester.
-
Identify the wires. Standard setups include:
- Hot (black): Brings power to the switch
- Load (black or red): Carries power to the light fixture
- Neutral (white): Required for most motion sensors
- Ground (bare copper or green): Safety ground
Take a photo before disconnecting anything. If there’s no neutral bundle in the box, stop, you’ll need additional wiring or a neutral-free model.
-
Disconnect the old switch. Loosen terminal screws or release push-in connections. Remove the old switch entirely.
-
Connect the motion sensor. Follow the manufacturer’s wiring diagram exactly, models vary. Typical connections:
- Connect the sensor’s ground wire (green or bare) to the ground bundle or ground screw
- Connect the neutral wire (white) to the neutral bundle
- Connect the hot wire (black) to the incoming hot
- Connect the load wire (black, red, or blue depending on model) to the wire running to the light fixture
Use wire connectors rated for the wire gauge (typically 12 or 14 AWG for residential). Twist wires clockwise, thread the connector on, and tug firmly to confirm a solid connection. Wrap the base with electrical tape for extra security.
-
Secure the switch. Carefully fold wires into the box (motion sensors have more bulk than standard switches). Screw the switch to the mounting ears on the box. Don’t overtighten, it can crack plastic housings.
-
Attach the wall plate and restore power at the breaker.
-
Adjust settings. Most units have small dials or buttons for sensitivity and timeout. Start with moderate sensitivity and a 5-minute timeout, then adjust based on performance. Walk through the detection zone at various speeds and angles. Make adjustments until the switch responds reliably without false triggers.
Troubleshooting common issues:
- Lights don’t turn on: Check wiring connections, verify the load wire is correctly attached, and confirm power at the breaker. Test the motion sensor by waving your hand in front of it.
- Lights turn on randomly: Reduce sensitivity, check for HVAC vents blowing directly on the sensor, and verify nothing in the room is creating heat changes (space heaters, sunlight on dark furniture).
- Lights turn off too quickly: Increase timeout duration. Some models detect micro-movements: if someone’s sitting still, the sensor may time out. Increase sensitivity slightly.
- Lights stay on constantly: Check for stuck wiring, verify the manual override isn’t engaged, and inspect for sensor damage.
Comparative analyses from motion sensor switch testing indicate proper adjustment takes 2-3 days of use to dial in perfectly, don’t expect immediate perfection.
Permit requirements: Most jurisdictions allow homeowners to replace existing switches without permits, but adding new circuits or significantly modifying wiring may require inspection. Check with your local building department if unsure. Improperly installed switches can create fire hazards, when in doubt, call a licensed electrician.